First 14er Packing List: What to Bring Up Your First 14,000-Foot Peak
Your first 14er packing list: the gear, layers, food, and safety essentials for climbing your first 14,000-foot peak — plus altitude tips beginners always miss.
In this guide
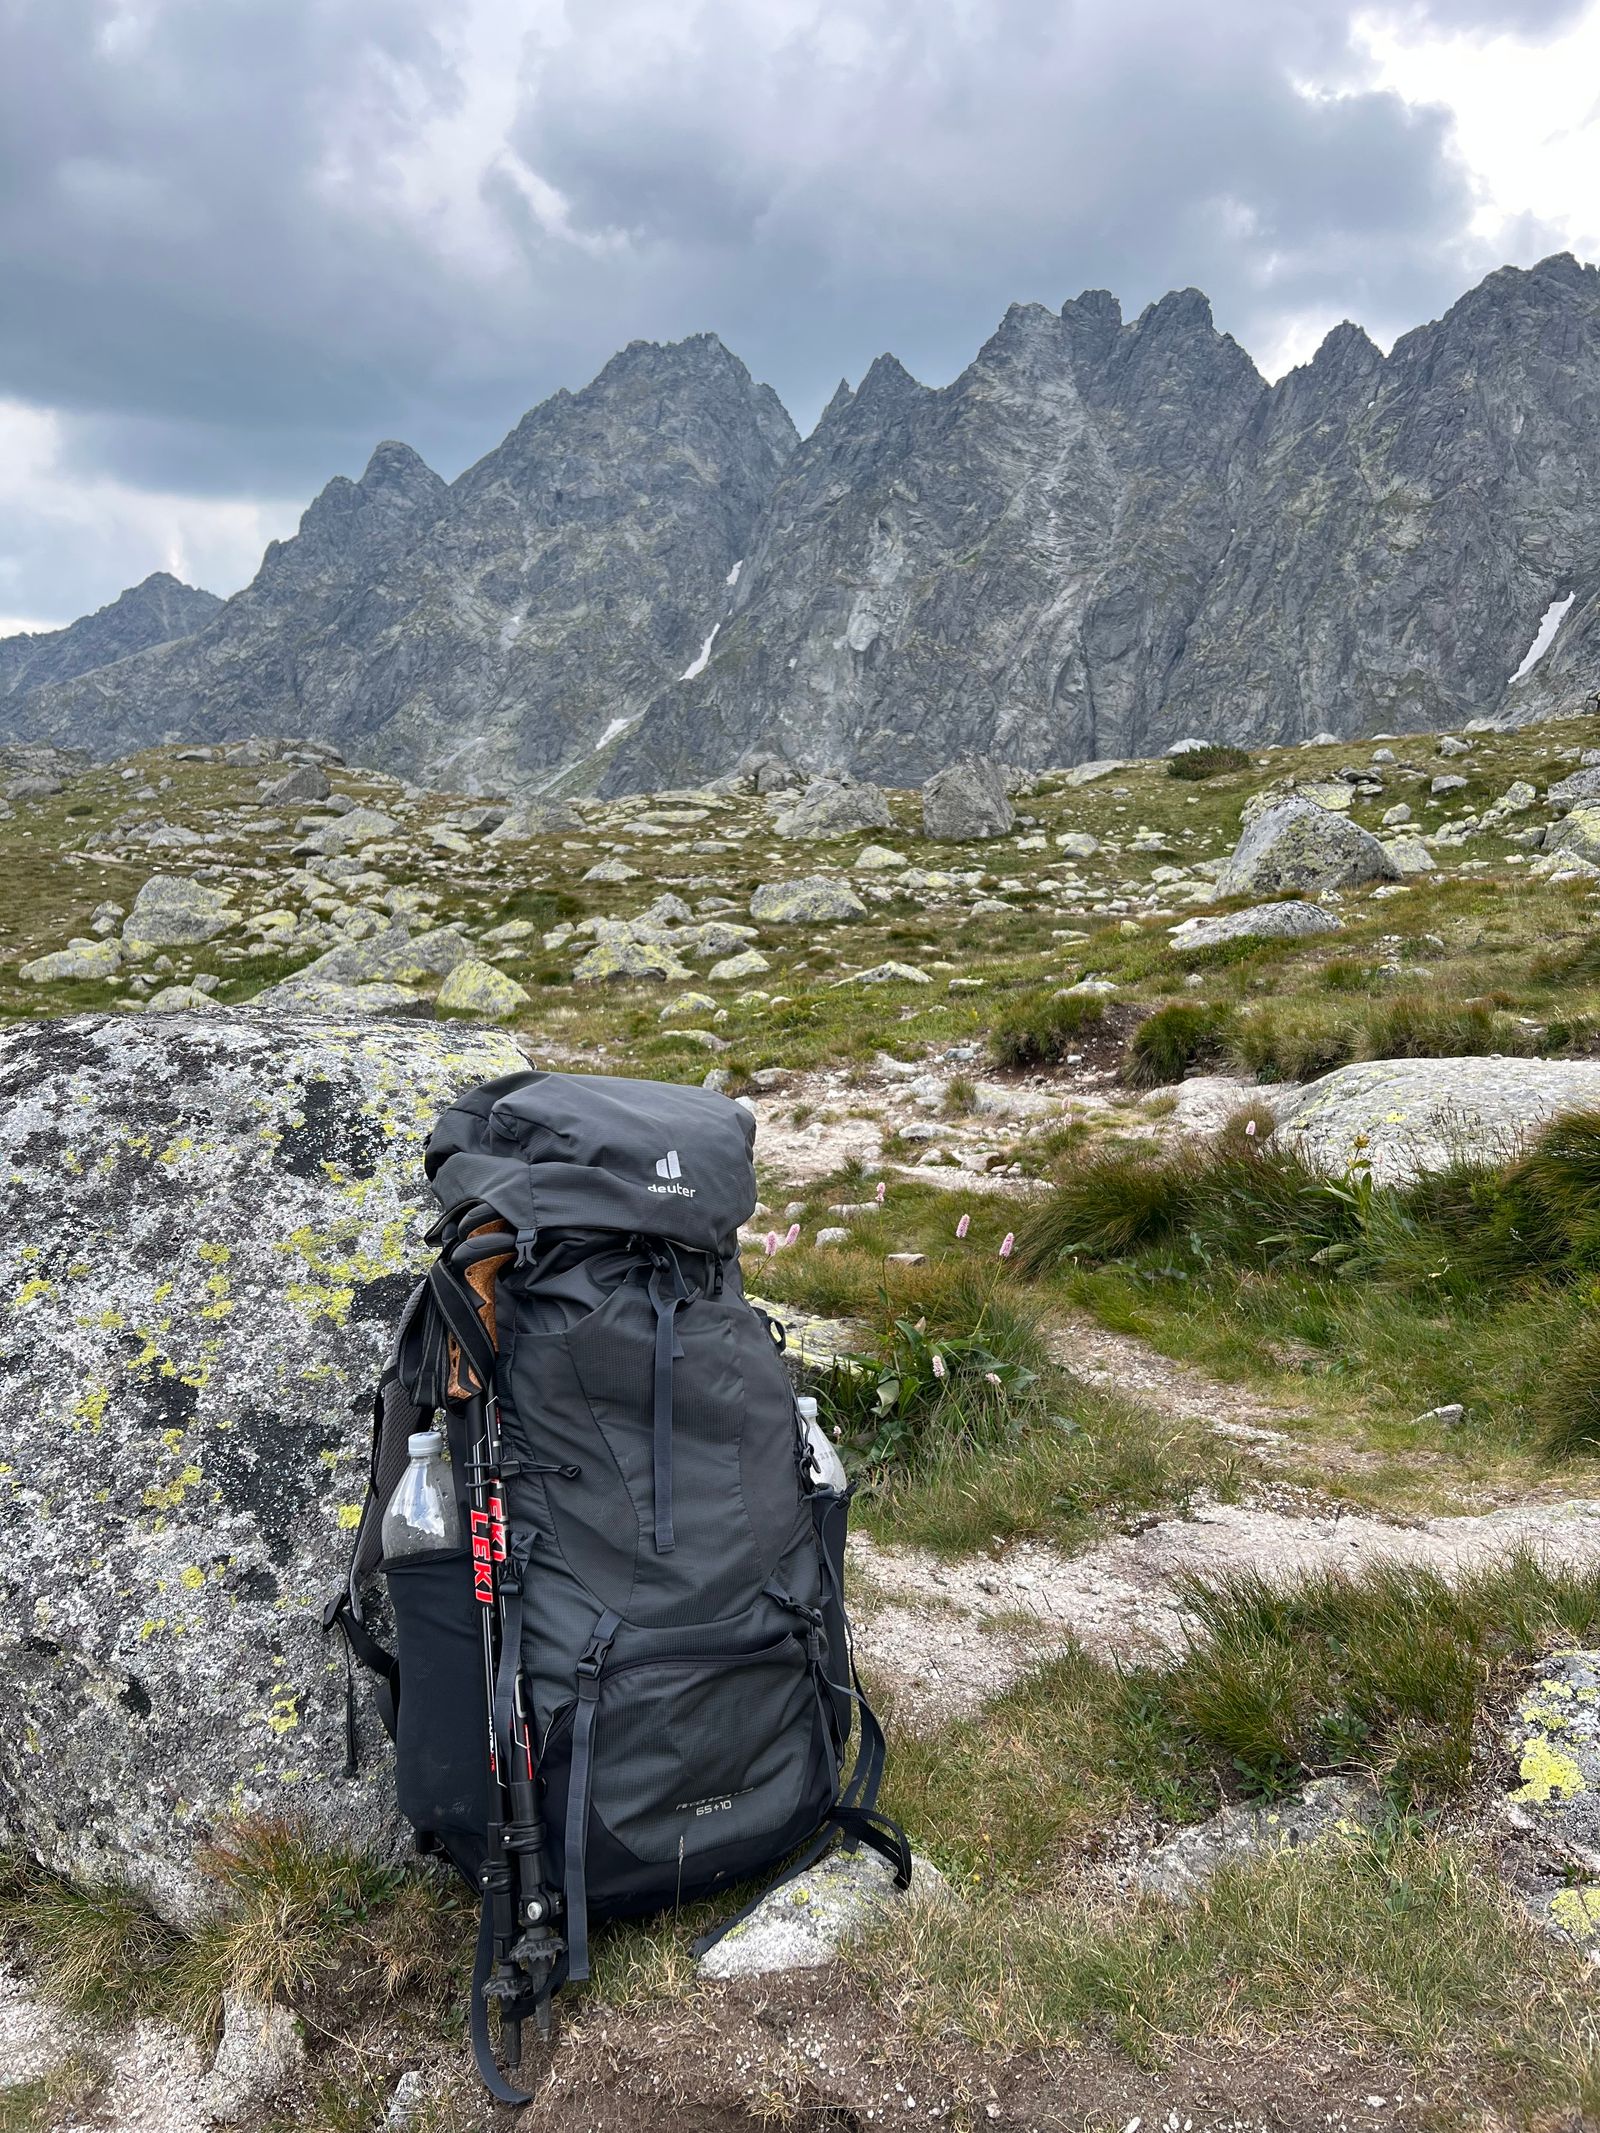
Standing on your first 14,000-foot summit is one of hiking’s great milestones — and it’s entirely achievable for a fit beginner with the right preparation. The secret of 14ers isn’t fitness (though that helps). It’s timing, layers, and respecting altitude. This list covers all three.
Quick answer: For your first 14er, pack a day-hike kit plus altitude extras: broken-in boots, 3+ liters of water, warm layers beyond the forecast, serious sun protection, 2,000+ calories of food, headlamp, rain shell, and the 10 essentials. Start at 4–6 AM to summit by noon — afternoon lightning is the real danger.
Disclosure: Trail Tested is reader-supported. When you buy through links on this page, we may earn a commission at no extra cost to you. Learn more. All picks are compiled picks — see how we rate gear.
Picking your first 14er
Not all 14ers are equal. For your first, you want a Class 1 route — a walk-up trail, no scrambling, no exposure. The classic beginner picks in Colorado:
- Quandary Peak (14,265 ft) — the standard first 14er. Clear trail, straightforward east ridge, 6.75 miles round trip.
- Grays & Torreys (14,270/14,267 ft) — can be combined; slightly longer day.
- Mount Bierstadt (14,065 ft) — short but can be crowded; willow marshes at the start.
Save Longs Peak, Capitol, and the Maroon Bells for later — those are technical undertakings, not hikes. Check 14ers.com for current route conditions and trip reports before you go.
The timing rule: summit by noon
Colorado’s summer monsoon pattern means afternoon thunderstorms build almost daily above treeline — often starting as innocent puffy clouds at 11 AM and turning into lightning by 1 PM. Above treeline, you are the tallest object for hundreds of yards. The rule every 14er hiker lives by:
- Trailhead by 4–6 AM (earlier for longer routes)
- Summit by noon, turning around at noon regardless — “the summit is optional, the descent is mandatory”
- Below treeline by early afternoon
- If you see towering cumulus building or hear thunder: descend immediately, don’t wait to see what happens
Check the forecast the night before AND the morning of. A 20% chance of afternoon storms at 14,000 feet deserves more respect than a 20% chance at sea level.
Clothing: pack for winter, hike in summer
The temperature can swing 40°F between the trailhead at dawn and the summit at midday — plus wind. Your system:
- Worn at start: synthetic/wool base layer, hiking pants, merino socks, broken-in boots
- Packed: insulating puffy jacket, fleece mid-layer, rain jacket AND rain pants, warm hat, gloves (yes, in summer — summit windchill is real), spare socks
- Sun armor: sunglasses (non-negotiable — snowfields and altitude UV), sunscreen, lip balm with SPF, brimmed hat
UV intensity increases roughly 4–5% per 1,000 feet of elevation. At 14,000 feet you’re getting hammered — reapply sunscreen every 2 hours. Our 50°F layering guide covers the layer dance you’ll do all day.
Food and water: more than you think
Altitude suppresses appetite and accelerates dehydration — you need to eat and drink on schedule, not on feel:
- Water: 3+ liters capacity. There’s often no water above treeline. Add electrolytes — you lose salts fast breathing hard in dry mountain air.
- Food: 2,000–3,000 calories. Salty, simple, eat-while-walking foods: sandwiches, trail mix, energy bars, dried fruit, candy. Your stomach may rebel against heavy or greasy food at altitude — keep it simple.
- The altitude appetite trick: set a timer if you have to. Eat 200–300 calories per hour whether you’re hungry or not. Bonking at 13,000 feet with 1,000 feet still to climb is miserable and dangerous.
Safety gear (the 14er additions)
Beyond the standard 10 essentials:
- Headlamp — non-negotiable with a pre-dawn start. Bring spare batteries.
Black Diamond Spot headlamp at REI — 450 lumens for pre-dawn trail finding, IPX7 waterproof for summit storms.
- Map + route description downloaded — trails above treeline can vanish into rock fields; know your route’s landmarks.
- Trekking poles — your knees will thank you on the descent, which is longer and harder than beginners expect.
- Water filter or tablets — as backup if you find a stream; don’t count on it.
Sawyer Squeeze + Cnoc 2L at REI — 5.8 oz, filters as you fill from alpine streams on the approach.
Altitude: the invisible challenge
At 14,000 feet, the air holds about 60% of the oxygen at sea level. Respect it:
- Acclimatize: spend 1–2 nights at 7,000–9,000 feet before your attempt if you’re coming from low elevation. “Drive up from Denver and summit” works for some, ruins others.
- Hydrate aggressively starting 24 hours before — altitude dehydrates you through rapid breathing alone.
- Go slow. The 14er pace feels embarrassingly slow. That’s correct. Racing at altitude is how you get sick.
- Know the symptoms: headache, nausea, dizziness, unusual fatigue. Mild symptoms: stop ascending, hydrate, consider descending. Worsening symptoms: descend immediately — altitude sickness is treated with descent, not toughness.
- Alcohol hits harder the night before. Skip it.
The descent: where 14ers are won
Most 14er injuries and most misery happen going down — tired legs, loose rock, rushing to beat storms. Poles, deliberate footing, and the discipline to turn around at your turnaround time no matter how close the summit looks. The mountain will be there next weekend. Getting yourself home in one piece is the actual achievement.
The full packing checklist
Worn: ☐ base layer ☐ hiking pants ☐ underwear ☐ merino socks ☐ broken-in boots ☐ brimmed hat Packed clothing: ☐ puffy ☐ fleece ☐ rain jacket ☐ rain pants ☐ warm hat ☐ gloves ☐ spare socks Food/water: ☐ 3L+ water + electrolytes ☐ 2,000–3,000 cal food ☐ filter/tablets Safety: ☐ headlamp + batteries ☐ map + route ☐ sunglasses ☐ sunscreen + lip balm ☐ trekking poles ☐ first aid + blister kit ☐ knife ☐ fire kit ☐ emergency bivy
FAQ
What is the easiest 14er for beginners? Colorado’s Quandary Peak, Grays Peak, Torreys Peak, and Mount Bierstadt are the classic beginner 14ers — non-technical walk-up routes on established trails. Quandary’s east ridge is the usual first recommendation: straightforward navigation and a clear trail the whole way. Start with a Class 1 walk-up, not a scramble.
What time should I start hiking a 14er? Start early enough to summit by noon and be below treeline by early afternoon — typically a 4–6 AM trailhead start for standard routes. Colorado’s summer monsoon brings near-daily afternoon lightning above treeline, and being the tallest object on a ridge in a thunderstorm is the objective danger of 14ers.
Do I need special gear for a 14er vs a normal hike? The kit is a day-hike kit plus altitude-specific additions: more warm layers than the forecast suggests, sun protection for intense UV, 3+ liters of water capacity, and lightning-safety planning. No technical gear is needed for Class 1 walk-up routes in summer conditions.
How do I avoid altitude sickness on a 14er? Spend a night or two at moderate altitude (7,000–9,000 ft) before your attempt, hydrate aggressively starting the day before, go slow, and eat. Know the symptoms — headache, nausea, dizziness — and descend if they worsen. Altitude sickness is not a toughness test; the mountain will be there next weekend.
Can I hike a 14er in tennis shoes? People do, but it’s a bad idea for a first 14er. You want ankle support, stiff soles for rocky terrain, and traction — broken-in hiking boots or sturdy trail runners. The descent pounds your feet for hours; proper footwear is the difference between a triumph and a limp.
Related guides
- 3-Day Backpacking Packing List — the full overnight kit
- 10 Essentials Hiking Checklist — the safety foundation
- What to Wear Hiking in 50-Degree Weather — the layering system
- How to Prevent Blisters — your feet on summit day
Heads up: some links on this page are affiliate links — if you buy through them we may earn a commission at no extra cost to you. Learn more.
Frequently asked questions
What is the easiest 14er for beginners?
Colorado’s Quandary Peak, Grays Peak, Torreys Peak, and Mount Bierstadt are the classic beginner 14ers — non-technical walk-up routes on established trails. Quandary’s east ridge is the usual first recommendation: straightforward navigation and a clear trail the whole way. Start with a Class 1 walk-up, not a scramble.
What time should I start hiking a 14er?
Start early enough to summit by noon and be below treeline by early afternoon — typically a 4–6 AM trailhead start for standard routes. Colorado’s summer monsoon brings near-daily afternoon lightning above treeline, and being the tallest object on a ridge in a thunderstorm is the objective danger of 14ers.
Do I need special gear for a 14er vs a normal hike?
The kit is a day-hike kit plus altitude-specific additions: more warm layers than the forecast suggests, sun protection for intense UV, 3+ liters of water capacity, and lightning-safety planning. No technical gear is needed for Class 1 walk-up routes in summer conditions.
How do I avoid altitude sickness on a 14er?
Spend a night or two at moderate altitude (7,000–9,000 ft) before your attempt, hydrate aggressively starting the day before, go slow, and eat. Know the symptoms — headache, nausea, dizziness — and descend if they worsen. Altitude sickness is not a toughness test; the mountain will be there next weekend.
Can I hike a 14er in tennis shoes?
People do, but it’s a bad idea for a first 14er. You want ankle support, stiff soles for rocky terrain, and traction — broken-in hiking boots or sturdy trail runners. The descent pounds your feet for hours; proper footwear is the difference between a triumph and a limp.