How to Pack a Backpack for Backpacking (The Zone System)
Stop guessing where gear goes. The zone packing system puts heavy gear where it belongs, keeps camp clothes dry, and makes everything findable — with a step-by-step loading order.
In this guide
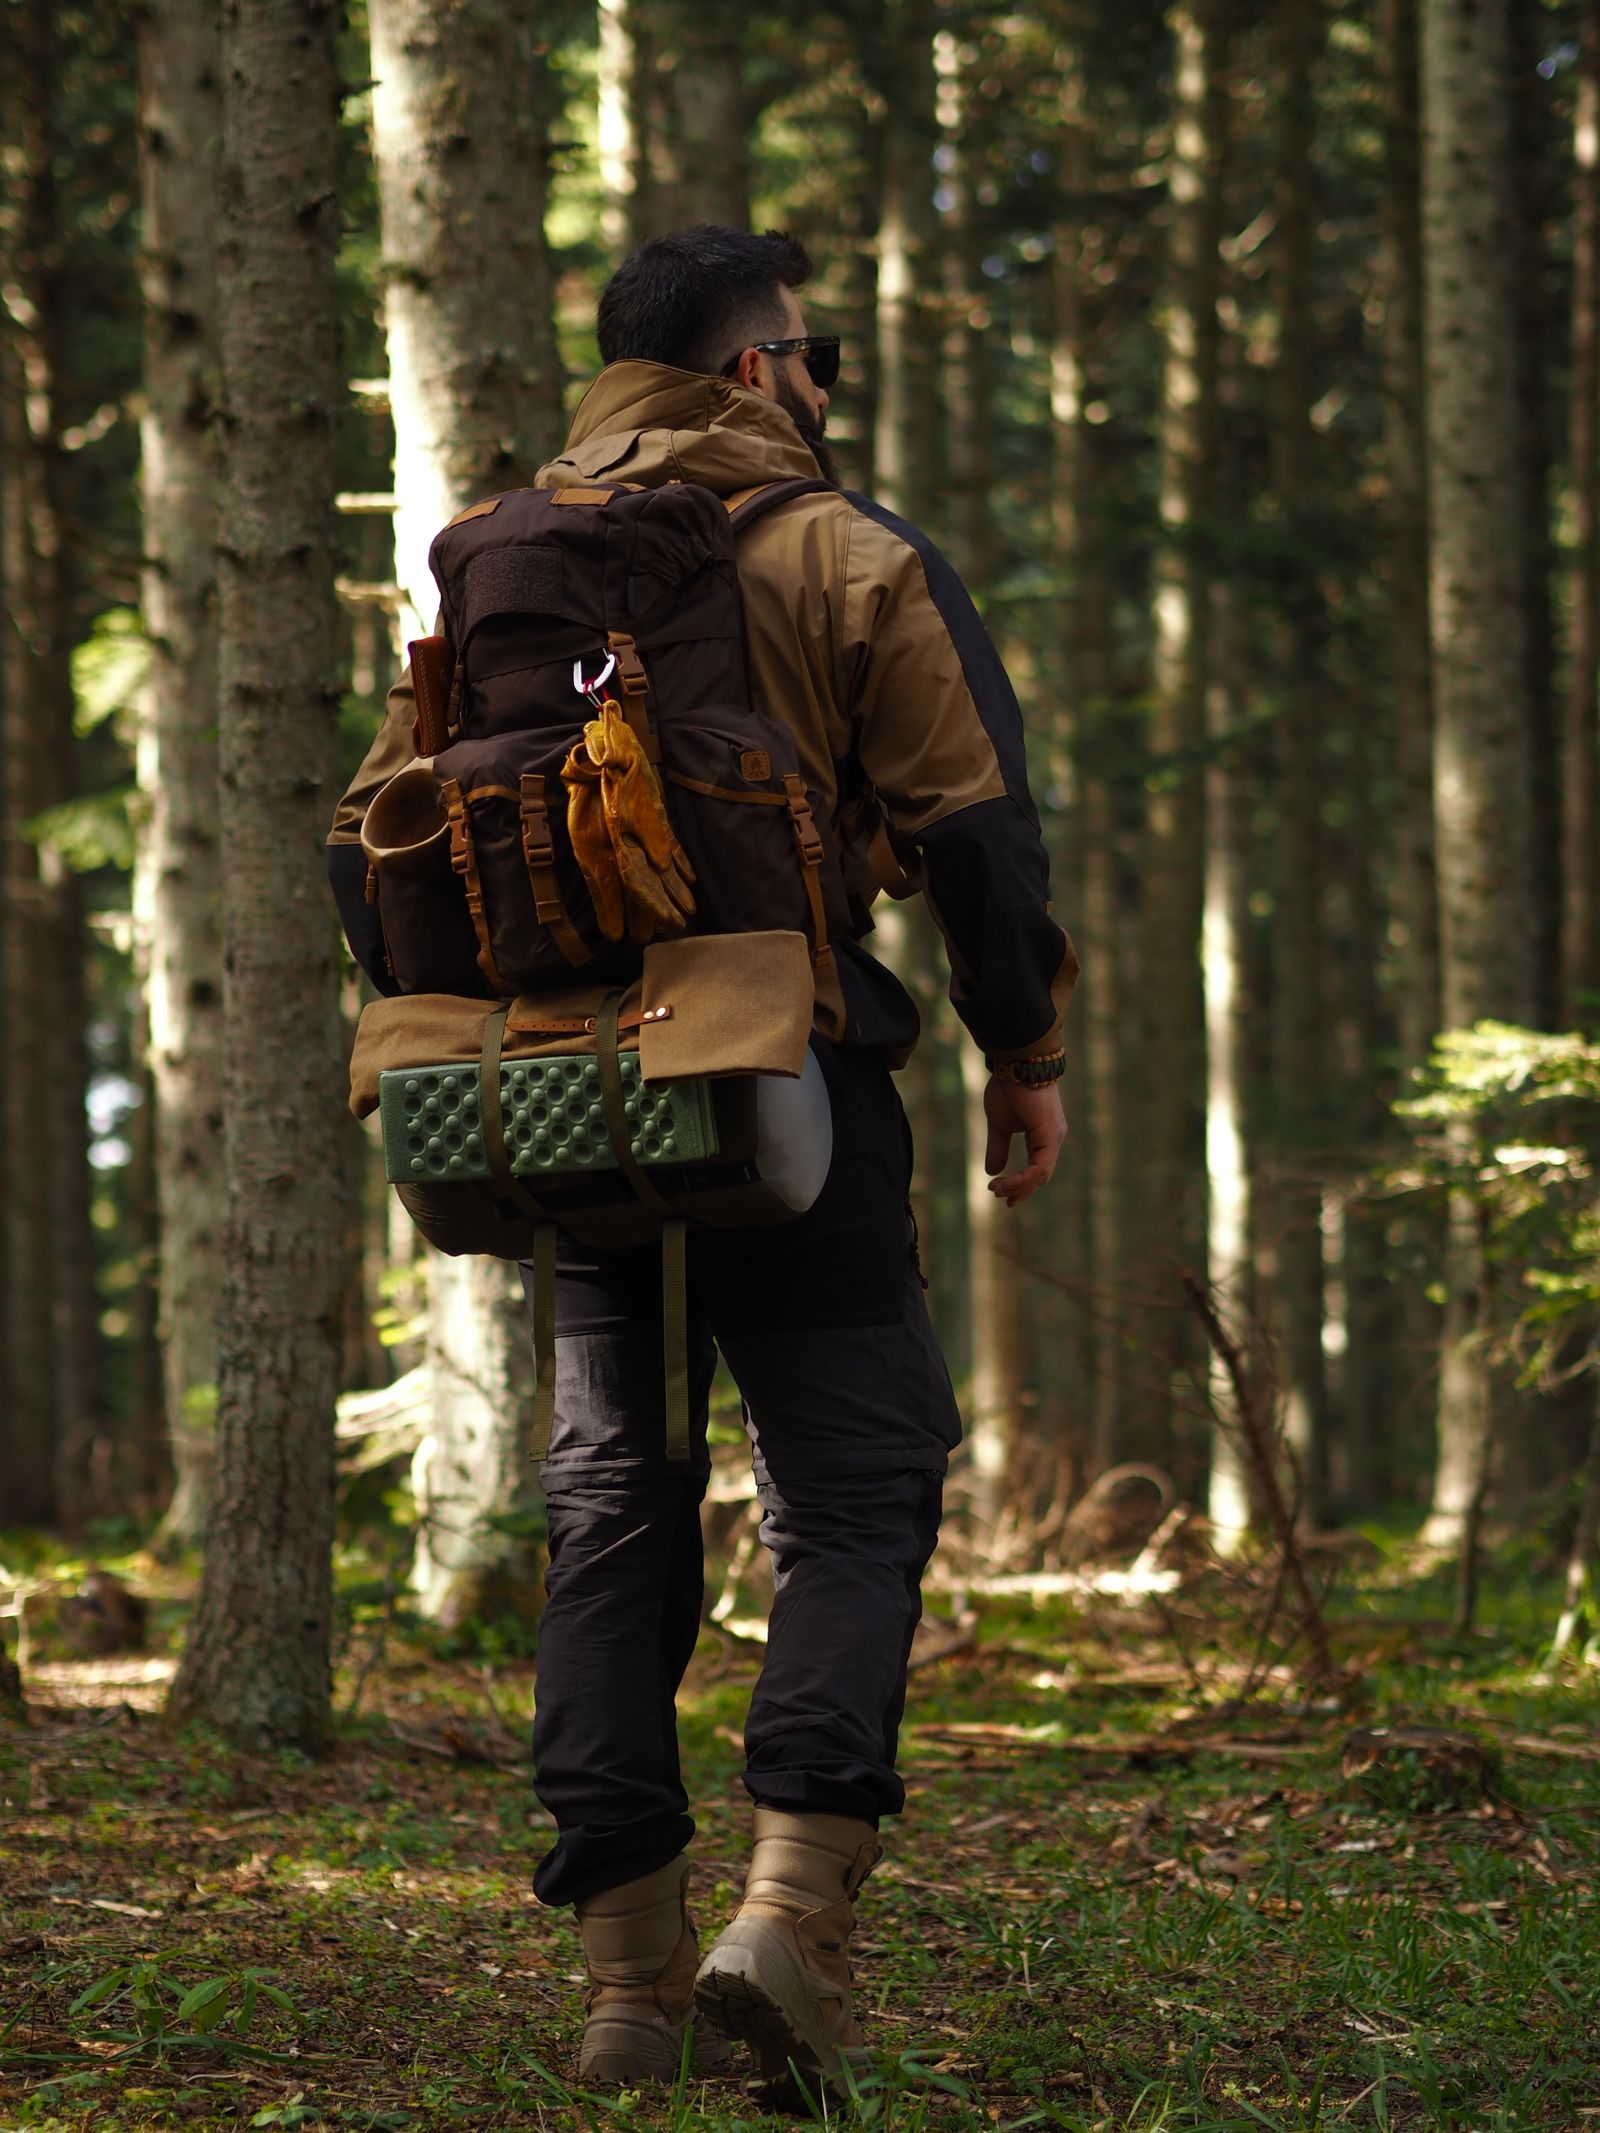
Two hikers can carry identical gear lists and have completely different days. The difference is packing: where the weight sits, what stays dry, and whether you can find your rain jacket in 30 seconds when the sky opens. This is the zone system — the method backpacking instructors teach because it works with any pack.
Quick answer: Pack a backpack in zones: bottom = bulky camp-only gear (sleeping bag, sleep clothes) in a dry bag; core = heavy, dense items (food, water, stove) centered at shoulder-blade height close to your back; top = frequently needed items (rain gear, puffy, first aid, snacks); hipbelt pockets and lid = trail essentials (phone, map, sunscreen, headlamp).
The 5 zones
Think of your pack as a building with floors, each with a job:
Zone 1 — Bottom (camp only). Sleeping bag in a waterproof stuff sack, sleep clothes, camp pillow. Things you won’t touch until camp. Packing them first creates a soft, stable base and keeps them driest — the bottom of a pack sits in puddles at rest stops.
Zone 2 — Core (heavy and dense). Food bag, water reservoir or bottles, stove and fuel, tent body. This mass sits centered between your shoulder blades and as close to your back panel as possible. Physics: weight near your spine and at mid-back height keeps the load’s center of gravity over your hips, where your legs — not your shoulders — carry it.
Zone 3 — Top (frequent access). Rain jacket, puffy jacket, first-aid kit, lunch and snacks, water filter, trowel and toilet kit. Weather changes and hunger don’t wait for you to unpack.
Zone 4 — Hipbelt pockets and lid. Phone, map, compass, sunscreen, lip balm, headlamp, knife, a few energy chews. If you reach for it while walking, it lives here.
Zone 5 — Outside (minimal). Trekking poles (when not in use), tent poles in the side pocket, a foam sleeping pad strapped under the lid. Everything else goes inside. Dangling gear snags, swings, and unbalances you.
Step-by-step loading order
- Line the pack with a trash compactor bag (your pack liner), twisted open like a trash can.
- Bottom zone: sleeping bag in its dry bag, then sleep clothes. Push them into the corners — no air gaps.
- Core zone: tent body and food bag against the back panel first (heaviest, densest), then water reservoir in its sleeve, stove and fuel nested in the pot beside them.
- Fill gaps with soft items (fleece, camp towel) so nothing shifts. Shake the pack — silence is the goal.
- Top zone: rain gear on the very top (you need it fastest), then puffy, first aid, snacks.
- Twist the liner closed like a dry bag — fold, don’t tie.
- Lid and hipbelt: load pockets with trail essentials.
- Compression straps: snug the side straps until the pack is one solid unit. Cinch the lid down last.
- Load lifters: once the pack is on, tighten hipbelt first, then shoulder straps, then load lifters (the small straps at the top of the shoulders) to about 45° — they pull the top of the pack toward you.
Weight distribution rules
- Heavy = high and close. The classic beginner error is heavy gear at the bottom, which drags you backward and strains shoulders. Shoulder-blade height, touching the back panel.
- Dense beats bulky in the core. A 3-lb food bag packed tight carries better than a 3-lb puffy jacket — density near the spine is what counts.
- Left-right balance. Water bottle on one side? Balance it. A lopsided pack torques your spine all day.
- Nothing swinging. If it moves independently of the pack, it will exhaust you. Strap it down or put it inside.
Staying dry: the liner system
Your pack’s fabric is not waterproof, and rain covers fail where the pack meets your sweaty back. The reliable system:
- Pack liner (trash compactor bag — thicker and more durable than regular trash bags): everything important goes inside it.
- Sleeping bag in its own dry bag inside the liner: double protection for the one item that must stay dry.
- Electronics and fire kit in small zip bags.
- Rain cover as a bonus in sustained rain — it keeps the pack fabric from soaking up pounds of water weight, even if the liner does the real waterproofing.
Organization: find anything in 30 seconds
- Stuff sacks by category, preferably different colors: red = first aid, blue = clothes, yellow = food. You shouldn’t have to open three bags to find your headlamp.
- The “10 PM rule”: imagine arriving at camp exhausted in the dark. Tent, sleeping bag, headlamp, and dinner should be reachable without emptying the pack. That’s why tent and sleep system bookend the zones.
- Ditch the stuff sacks that came with gear when a simple roll works — sleeping bags pack smaller and fill gaps better stuffed loose into the pack bottom (inside the dry bag) than in a rigid cylindrical sack.
Common packing mistakes
- Heavy at the bottom. The #1 comfort killer. Move food and water up.
- Rain gear buried. If your rain jacket is under your food bag, you will get soaked “real quick” while digging. Top zone, always.
- Water inaccessible. You should drink without stopping — reservoir hose or side-pocket bottles you can reach. Dehydrated hikers make bad decisions.
- Over-compression. Cranking straps until the pack deforms creates pressure points and can damage the frame. Snug, not crushed.
- Packing the night before… wrong. Pack at home, then unpack and repack once. The second pack is always better — you’ll drop two “just in case” items and find a smarter arrangement.
How this connects to your gear
Packing well starts with a pack that fits. If your torso measurement is on the short side, our daypack fit guides explain the measurement system that applies to multi-day packs too. And if you’re still building your kit, our 3-day packing list tells you exactly what goes into each zone.
FAQ
Where does the heaviest gear go in a backpack? Heavy, dense gear (food, water, stove, tent body) goes in the core zone — centered between your shoulder blades and close to your back. This keeps the load’s center of gravity near your own, so the pack moves with you instead of pulling you backward.
Should I use a pack liner or a rain cover? A pack liner (a large trash compactor bag inside the pack) beats a rain cover. Rain covers leak at the back panel where the pack meets your body, and they blow off in wind. A liner keeps everything dry even if the pack itself soaks through. Use both in sustained rain.
How do I keep my sleeping bag dry inside my pack? Pack it inside a waterproof stuff sack or a dedicated dry bag at the very bottom of a pack liner. The bottom of your pack sits in puddles at rest stops and wicks ground moisture — double protection (liner + dry bag) is cheap insurance for the item that keeps you warm at night.
Is it okay to strap gear to the outside of my pack? Minimally. A foam pad or tent poles are fine; dangling gear snags branches, throws off balance, and screams ‘my pack is too small.’ If you’re regularly strapping things outside, you need a bigger pack or less gear — not more straps.
How tight should my pack’s compression straps be? Snug enough that nothing shifts when you shake the loaded pack, but not cranked so hard they deform the pack’s shape. The goal is a single solid unit that moves with your torso — a load that sloshes side to side will exhaust your core muscles within hours.
Related guides
- 3-Day Backpacking Packing List — what goes in each zone
- 10 Essentials Hiking Checklist — the safety gear that lives in your top zone
- Best Daypack for Short Torso — fit fundamentals that scale to big packs
- Daypacks with Hip Belt Pockets — why Zone 4 matters
Frequently asked questions
Where does the heaviest gear go in a backpack?
Heavy, dense gear (food, water, stove, tent body) goes in the core zone — centered between your shoulder blades and close to your back. This keeps the load’s center of gravity near your own, so the pack moves with you instead of pulling you backward.
Should I use a pack liner or a rain cover?
A pack liner (a large trash compactor bag inside the pack) beats a rain cover. Rain covers leak at the back panel where the pack meets your body, and they blow off in wind. A liner keeps everything dry even if the pack itself soaks through. Use both in sustained rain.
How do I keep my sleeping bag dry inside my pack?
Pack it inside a waterproof stuff sack or a dedicated dry bag at the very bottom of a pack liner. The bottom of your pack sits in puddles at rest stops and wicks ground moisture — double protection (liner + dry bag) is cheap insurance for the item that keeps you warm at night.
Is it okay to strap gear to the outside of my pack?
Minimally. A foam pad or tent poles are fine; dangling gear snags branches, throws off balance, and screams ‘my pack is too small.’ If you’re regularly strapping things outside, you need a bigger pack or less gear — not more straps.
How tight should my pack's compression straps be?
Snug enough that nothing shifts when you shake the loaded pack, but not cranked so hard they deform the pack’s shape. The goal is a single solid unit that moves with your torso — a load that sloshes side to side will exhaust your core muscles within hours.