
How to Waterproof Hiking Boots: 4 Methods Compared (2026)
How to waterproof hiking boots: beeswax, DWR spray, silicone spray, and seam sealer compared — matched to your boot material, plus 5 mistakes to avoid.
In this guide
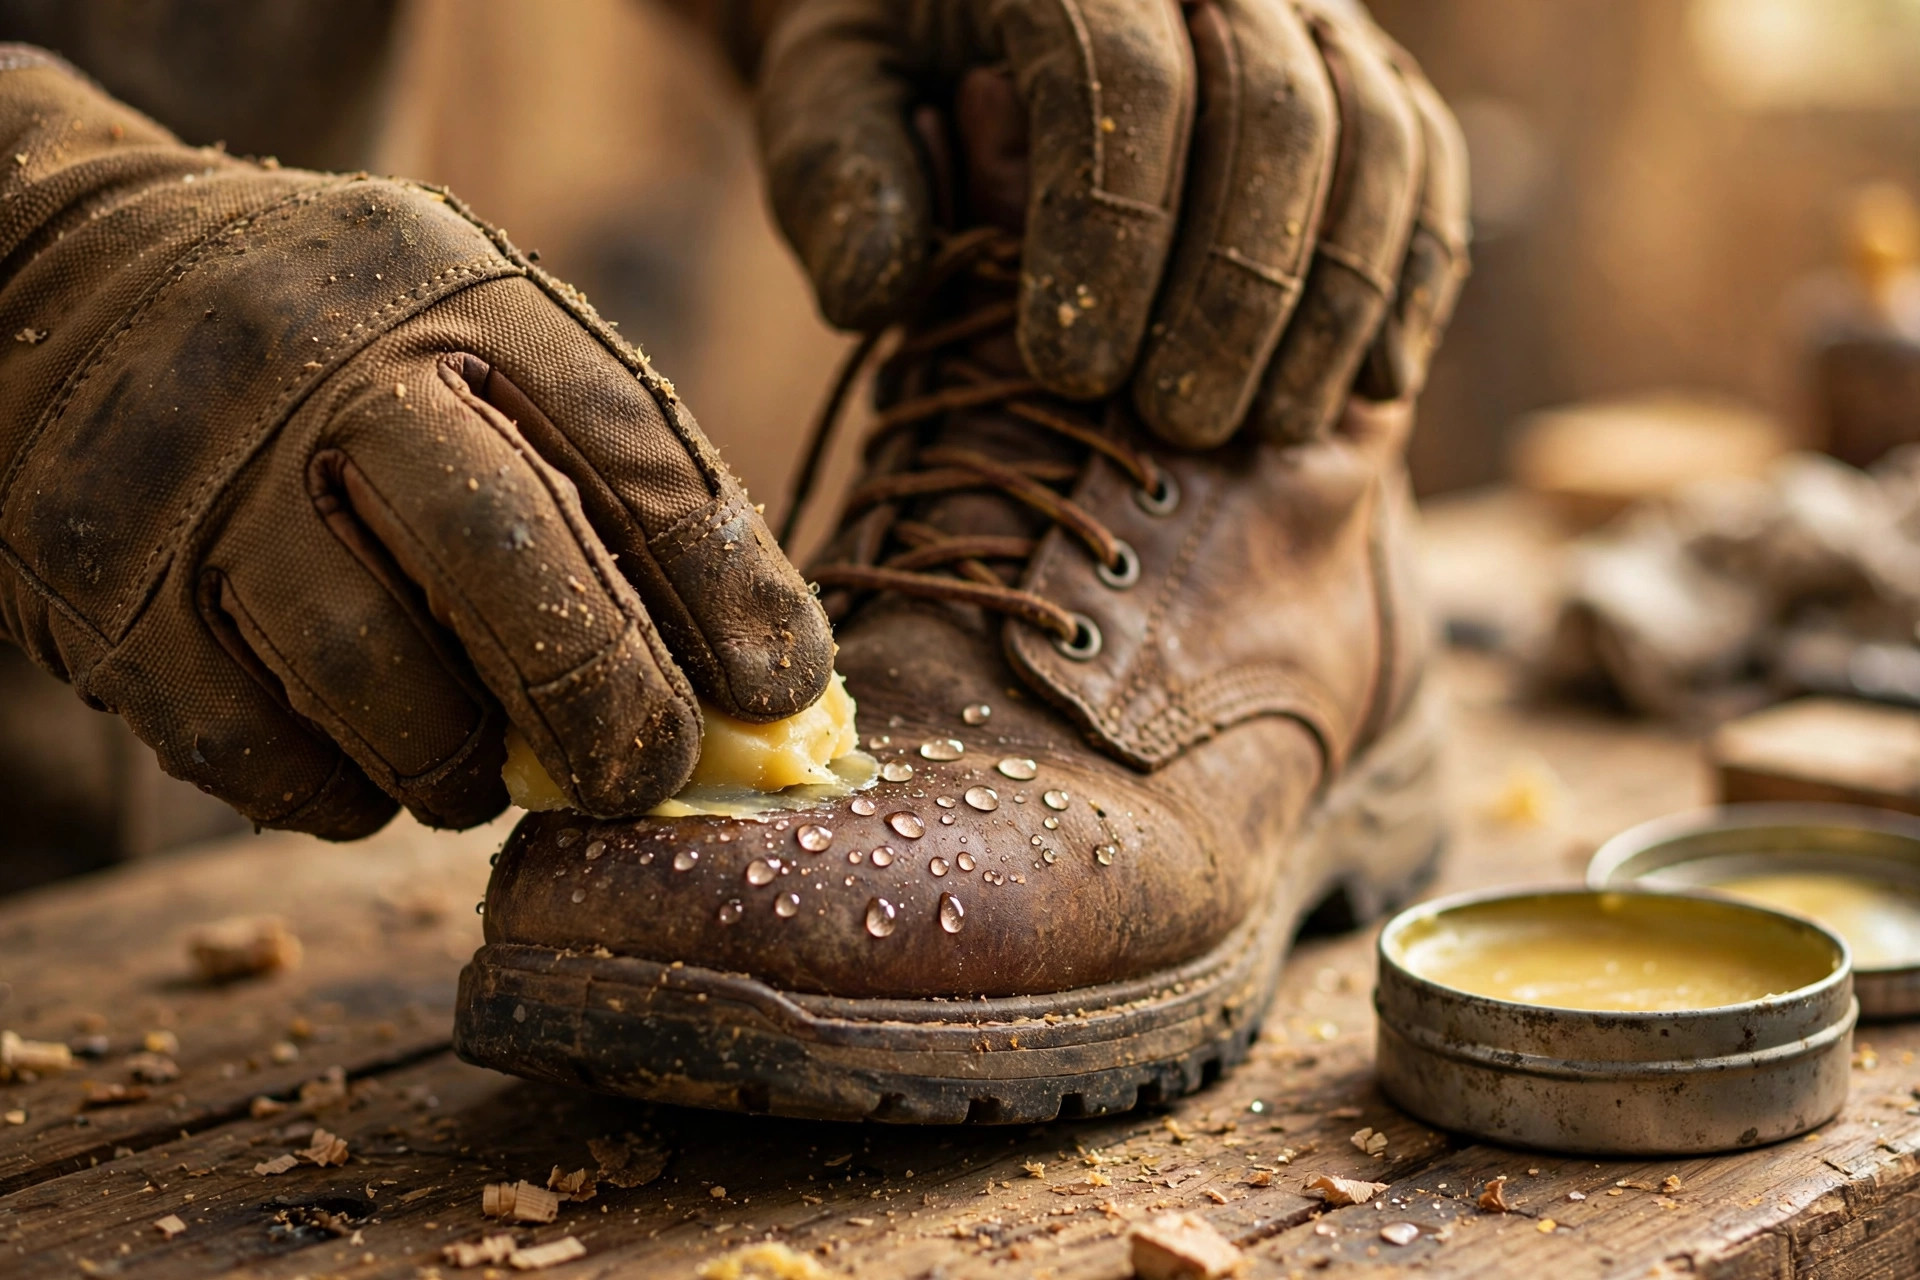
Factory waterproofing wears off — every boot wets out eventually. The right fix depends on your boot material: beeswax for full-grain leather, water-based DWR spray for Gore-Tex and fabric boots, silicone spray for a quick touch-up, and seam sealer for leaky stitch lines. Below: all four methods compared step by step, which one fits your boots, and the five mistakes that ruin good leather.
Disclosure: Trail Tested is reader-supported. When you buy through links on this page, we may earn a commission at no extra cost to you. Learn more. All methods are compiled picks — researched from manufacturer care guides, REI Expert Advice, and verified hiker reviews, not hands-on testing. See how we pick gear.
Contents
- Method comparison: the quick verdict
- Step 0: clean first, always
- Method 1: beeswax / leather wax
- Method 2: water-based DWR spray
- Method 3: silicone spray
- Method 4: seam sealer
- Which method for your boots?
- When to re-waterproof
- 5 mistakes that ruin boots
- How we researched this
- FAQ
Method comparison: the quick verdict
| Method | Best for | Cost | Effort | Lasts | Breathability impact |
|---|---|---|---|---|---|
| Beeswax / leather wax | Full-grain smooth leather, no membrane | ~$10 | 20–30 min + drying | Months | Reduced — wax fills pores |
| Water-based DWR spray | Gore-Tex/fabric/mixed-material boots | ~$10–14 | 10 min + drying | Weeks to months | Minimal — restores face beading |
| Silicone spray | Non-membrane fabric boots, quick touch-ups | ~$8–12 | 5 min + drying | Weeks | Can reduce it — avoid on Gore-Tex |
| Seam sealer | Leaky stitch lines on any boot | ~$8 | 15 min + 24h cure | Years on the seam | None — localized fix |
No single method wins for every boot. The right one is the one matched to your upper material — a $10 tin of the wrong product does more harm than doing nothing.
Step 0: clean first, always
Every method below starts the same way, and skipping this step is the most common reason waterproofing “doesn’t work.”
- Remove laces and insoles. They trap moisture and block treatment at the tongue and eyelets.
- Knock off loose dirt, then scrub with lukewarm water and a soft brush or old toothbrush. Pay attention to the welt — the seam where upper meets sole — where grit hides.
- For caked mud, wipe with a damp cloth; never use harsh detergents, which strip natural oils from leather.
- Let boots dry at room temperature, out of direct sun. Never use a radiator, campfire, or hair dryer on high heat — direct heat dries and cracks leather, and it can delaminate glued soles.
Apply DWR sprays to boots that are still damp (most water-based products are designed for that); apply waxes to boots that are dry or barely damp.
Method 1: beeswax / leather wax
Best for: full-grain smooth-leather boots without a waterproof membrane — classic backpacking boots, work-style hikers.
Beeswax products (Sno-Seal is the long-standing standard; Grangers Waterproofing Wax and G-Wax are the modern equivalents) melt into leather’s pores and form a physical water barrier. It’s the heaviest-duty protection here, and the longest-lasting — but it darkens leather, adds a slightly tacky feel, and reduces breathability because wax fills the pores moisture would escape through.
How to do it:
- Clean and fully dry the boots (see Step 0).
- Warm the boots gently — set them in warm sun or use a hair dryer on low. Warm leather drinks wax; cold leather leaves it sitting on the surface.
- Rub a thin layer of wax in with your fingers or a clean cloth, working it into the seams, stitching, and flex points where water enters first.
- Warm again briefly so the wax melts into the pores, then wipe off the excess.
- Let the boots sit overnight at room temperature. A second thin coat lasts noticeably longer than one thick one.
Honest trade-offs: Beeswax is the most waterproof option on this page and the cheapest per application — but it’s wrong for membrane-lined boots, where you’d rather keep breathability, and it will darken light-colored leather permanently. One tin treats many pairs for years.
Method 2: water-based DWR spray
Best for: Gore-Tex-lined boots, fabric/synthetic boots, and mixed leather-and-fabric uppers — which is most of what’s sold today.
Water-based DWR products (Nikwax Fabric & Leather Proof, Grangers Footwear Repel) restore the durable water repellent finish on the face fabric so water beads and rolls off instead of soaking the upper and blocking the membrane. They don’t make a boot waterproof by themselves — the membrane does that — but without DWR the face fabric “wets out,” the boot gets heavy, and your feet feel clammy even though no water got in.
How to do it:
- Clean the boots (Step 0). DWR goes on damp boots — don’t fully dry them.
- Shake well and spray evenly from about 6 inches, or sponge on with the applicator top. Cover the whole upper, including the tongue.
- Wait 2 minutes, then wipe off excess with a damp cloth — pooled product dries into stiff spots.
- Air-dry at room temperature. Some products benefit from a short tumble in a dryer on low after drying — check the label.
Honest trade-offs: DWR is the correct maintenance for membrane boots and preserves breathability — but it wears off faster than wax, especially on high-abrasion areas like the toe and heel. Expect to reapply every few months of regular use. Note: despite the name, Nikwax’s “Waterproofing Wax for Leather” is currently a water-based DWR formulation, not a true wax — read the label, not the branding.
Method 3: silicone spray
Best for: non-membrane fabric and nylon boots, and quick trailhead touch-ups when you forgot to reproof at home.
Silicone sprays lay down a thin hydrophobic film fast — spray, dry, done in minutes. They’re cheap and widely available. The catch: the film is thin and wears off quickly (think weeks, not months), and silicone can reduce the breathability of waterproof-breathable membranes, so keep it away from Gore-Tex-lined boots.
How to do it:
- Clean and dry the boots.
- Spray evenly outdoors or in a ventilated area — silicone overspray makes floors slippery.
- Let dry fully before wearing; a second light coat helps.
Honest trade-offs: The fastest, easiest method here — and the least durable. Fine for keeping splash off a fabric day-hiker; the wrong choice as the primary protection for a leather backpacking boot or any membrane boot.
Method 4: seam sealer
Best for: boots that leak at the stitch lines while the rest of the upper still beads water — a repair, not a full treatment.
If your boots are generally fine but one seam or stitch row lets water in, the fix is targeted: a urethane seam sealer like Gear Aid Seam Grip painted along the leaking stitches. This is the same chemistry tent manufacturers use on fly seams, and a sealed seam stays sealed for years.
How to do it:
- Clean and fully dry the boots.
- Apply a thin bead along the leaking seam with the applicator; work it into the stitches with a fingertip.
- Let cure 24 hours before wearing — the bond needs the full cure time.
Honest trade-offs: Seam sealer fixes exactly one problem — leaky seams — and fixes it permanently. It won’t restore a wetted-out face fabric or condition dried leather. Diagnose first: if water beads everywhere except one stitch line, seal it; if the whole boot soaks through, you need Method 1 or 2 instead.
Which method for your boots?
| Your boots | Use this | Avoid this |
|---|---|---|
| Full-grain smooth leather, no membrane | Beeswax / leather wax (Method 1) | Silicone spray — too thin for leather |
| Full-grain leather with Gore-Tex lining | Water-based DWR spray (Method 2) | Heavy beeswax — reduces breathability |
| Nubuck or suede | Nubuck/suede-specific spray (e.g., Nikwax Nubuck & Suede Proof) | Any wax — stains the nap permanently |
| Fabric / synthetic with membrane | Water-based DWR spray (Method 2) | Silicone spray — can clog the membrane |
| Mixed leather + fabric | Water-based DWR spray (Method 2) | Wax on the fabric panels |
| Leaking at one stitch line | Seam sealer (Method 4) | Reproofing the whole boot |
Nubuck and suede deserve a special callout: they need their own spray-on proofer. Wax darkens and mats the nap irreversibly — once you’ve waxed nubuck, there’s no going back. If you’re unsure what your boots are made of, check the manufacturer’s care page for your exact model before buying anything.
When to re-waterproof
Don’t waterproof on a calendar — waterproof on evidence:
- Water stops beading. Flick water on the toe: if it beads and rolls, the DWR is alive. If it spreads and darkens the leather, reproof.
- Boots feel heavier after rain. A wetted-out face fabric holds water weight even when the membrane kept your socks dry.
- Leather looks thirsty. Dry, pale, or cracked-looking leather is asking for conditioner plus waterproofing.
- Seams darken first. Stitch lines wet out before panels do — often the first sign.
For most hikers, that’s once per season. If you hike weekly in wet conditions, check monthly. And pair waterproofing with occasional leather conditioner (Grangers Leather Conditioner or Nikwax Conditioner for Leather) — it keeps leather supple so it doesn’t crack, which no waterproofing can fix after the fact.
5 mistakes that ruin boots
- Waxing nubuck or suede. Wax mats the nap and stains it permanently. Nubuck gets its own spray-on proofer, full stop.
- Silicone-heavy products on Gore-Tex boots. Silicone can reduce the breathability the membrane exists for. Membrane boots get water-based DWR.
- Treating dirty boots. Grit trapped under wax becomes sandpaper at every flex point, and dirt blocks absorption. Clean first, every time.
- Drying with direct heat. Radiators, campfires, and hot hair dryers dry out leather until it cracks and can delaminate soles. Room temperature, out of direct sun, stuffed with newspaper if soaked.
- Waterproofing brand-new boots. Factory DWR is fresh out of the box — treating over it wastes product and can gum up the finish. Wait until water stops beading.
How we researched this
We did not hands-on test these methods. Every recommendation is compiled from manufacturer care guides (Nikwax, Grangers, Gear Aid), REI’s Expert Advice boot-care articles, SectionHiker’s membrane-boot analysis, and aggregated verified buyer reviews from hiking communities. Product names are examples of the product type each method needs — equivalents from other reputable brands work the same way.
FAQ
How often should I re-waterproof my hiking boots during a rainy season? Re-waterproof when water stops beading on the surface and starts soaking in, or when the leather darkens and feels saturated after a hike. For most hikers that’s once per season; heavy-use or constantly wet boots may need it monthly. Always clean the boots first — reproofing dirty leather traps grit and blocks absorption.
Can I use regular beeswax or mink oil instead of a boot-specific waterproofing product? Beeswax-based products made for boots, like Sno-Seal, work well on full-grain leather — but plain beeswax is hard to work in without additives. Mink oil is riskier: it can over-soften leather and darken it permanently. Use boot-specific products; they’re formulated to absorb evenly and not compromise stitching or glue.
Will waterproofing wax ruin the breathability of my Gore-Tex hiking boots? Heavy waxes can reduce breathability because wax fills the leather’s pores, which limits moisture escaping through the upper. For Gore-Tex-lined boots, water-based DWR sprays are the safer choice — they restore the face fabric’s water beading without sealing the pores the membrane needs. Match the product to the boot, not the other way around.
Do I need to waterproof brand-new hiking boots, or are they ready out of the box? Most new waterproof boots leave the factory with a fresh DWR treatment and need nothing. Waterproof them only when you see the signs: water stops beading and the upper starts wetting out. Treating brand-new boots is wasted product — wait until the factory finish wears down, which usually takes a season of regular hiking.
Can I waterproof trail running shoes the same way I waterproof leather hiking boots? Not with the same products. Mesh trail runners have no leather to wax and usually no membrane to protect — a light DWR spray adds a bit of splash resistance but cannot make a non-waterproof shoe waterproof. Wax on mesh just makes a sticky mess. Treat mesh shoes with a fabric-safe spray or accept that they’ll get wet and dry fast.
Related guides
- How to Break In Hiking Boots (2026) — break them in first, waterproof second: the correct order for new boots
- Best Hiking Boots for Beginners Under $150 (2026) — most of these ship with Gore-Tex linings that need DWR maintenance, not wax
- Best Hiking Boots for Wide Feet (2026) — full-grain leather wide models are the best candidates for the beeswax method
Heads up: some links on this page are affiliate links — if you buy through them we may earn a commission at no extra cost to you. Learn more.
Frequently asked questions
How often should I re-waterproof my hiking boots during a rainy season?
Re-waterproof when water stops beading on the surface and starts soaking in, or when the leather darkens and feels saturated after a hike. For most hikers that’s once per season; heavy-use or constantly wet boots may need it monthly. Always clean the boots first — reproofing dirty leather traps grit and blocks absorption.
Can I use regular beeswax or mink oil instead of a boot-specific waterproofing product?
Beeswax-based products made for boots, like Sno-Seal, work well on full-grain leather — but plain beeswax is hard to work in without additives. Mink oil is riskier: it can over-soften leather and darken it permanently. Use boot-specific products; they’re formulated to absorb evenly and not compromise stitching or glue.
Will waterproofing wax ruin the breathability of my Gore-Tex hiking boots?
Heavy waxes can reduce breathability because wax fills the leather’s pores, which limits moisture escaping through the upper. For Gore-Tex-lined boots, water-based DWR sprays are the safer choice — they restore the face fabric’s water beading without sealing the pores the membrane needs. Match the product to the boot, not the other way around.
Do I need to waterproof brand-new hiking boots, or are they ready out of the box?
Most new waterproof boots leave the factory with a fresh DWR treatment and need nothing. Waterproof them only when you see the signs: water stops beading and the upper starts wetting out. Treating brand-new boots is wasted product — wait until the factory finish wears down, which usually takes a season of regular hiking.
Can I waterproof trail running shoes the same way I waterproof leather hiking boots?
Not with the same products. Mesh trail runners have no leather to wax and usually no membrane to protect — a light DWR spray adds a bit of splash resistance but cannot make a non-waterproof shoe waterproof. Wax on mesh just makes a sticky mess. Treat mesh shoes with a fabric-safe spray or accept that they’ll get wet and dry fast.