
How to Break In Hiking Boots: The 2-Week No-Blister Plan (2026)
Break in hiking boots the pain-free way: a day-by-day 2-week plan with timelines by boot type, hot-spot rules, and lacing tricks.
In this guide
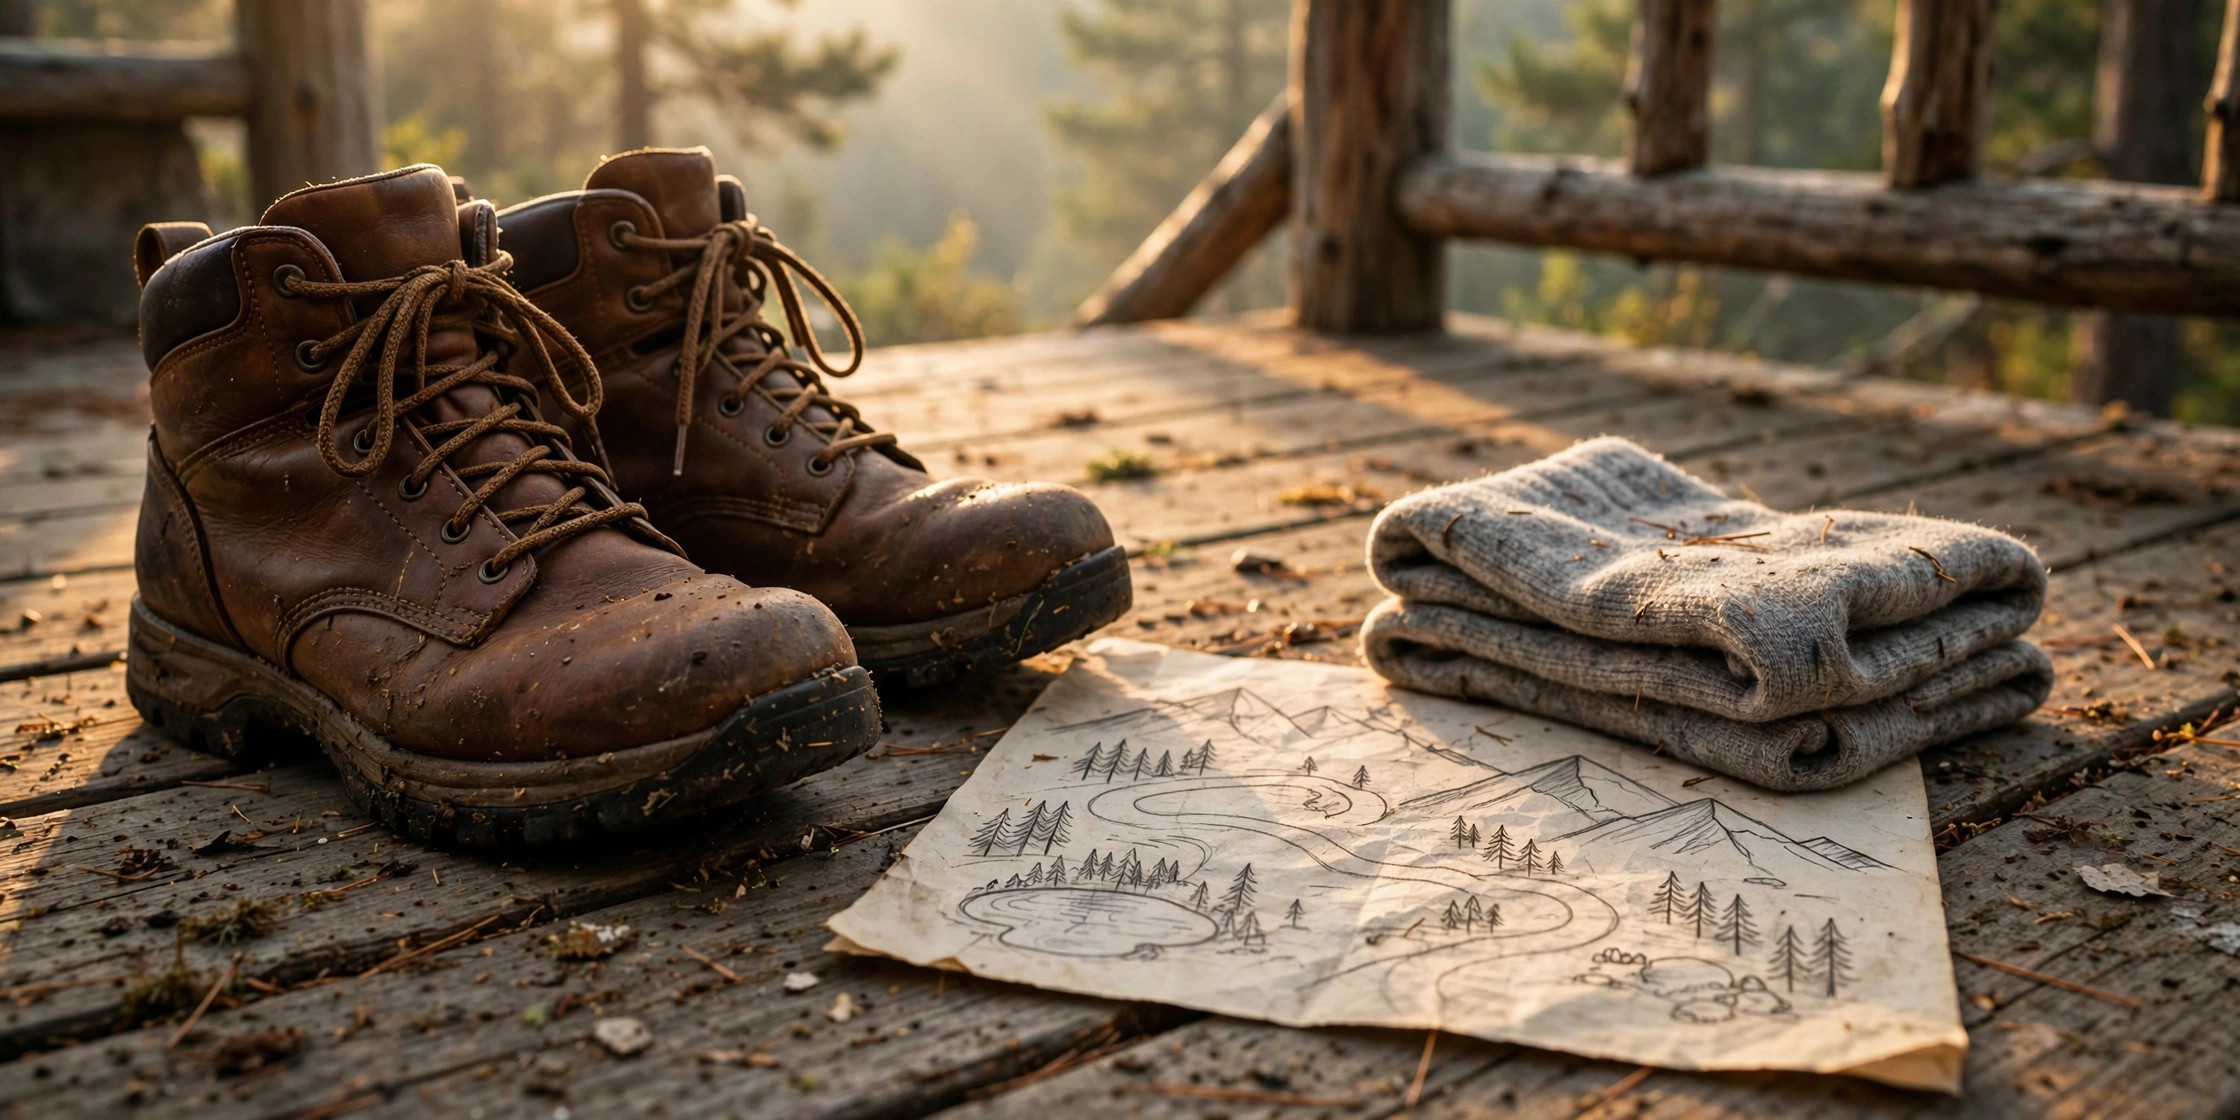
The fastest way to ruin a long-awaited hike is a pair of brand-new boots on mile three. Stiff materials, pressure points you never felt in the store, and hot spots that bloom into blisters by the first switchback — new-boot discomfort on first outings is one of the most common complaints in hiking fit guides and thru-hiker communities. The fix is unglamorous: time and gradual wear. This is the break-in plan that boot fitters, outfitter guides, and thru-hiker communities consistently recommend, condensed into two weeks.
Quick answer: Break in hiking boots with gradual, escalating wear — indoor sessions first, then short neighborhood walks, then longer walks with hills, then a real moderate hike. Lightweight boots need 1-3 days, mid-weight boots about a week, stiff leather boots 2-3 weeks. If a boot is significantly painful on day one, it’s the wrong boot — exchange it, don’t power through.
Why break-in matters more than the store fitting
New boots are stiff by design. The leather or synthetic upper hasn’t learned the shape of your foot, the footbed hasn’t molded to your arch, and the sole hasn’t developed flex points where your feet naturally bend. On the trail, stiffness becomes friction: the heel collar rubs, the toe box pinches on descents, the tongue digs. Skin softens and swells with heat and moisture, which is why a boot that felt perfect in an air-conditioned store becomes an instrument of torture by mile five.
Break-in solves this mechanically. Each wearing softens the upper at the creases, seats the heel, and teaches the boot where your foot bends. The timelines are real, not marketing:
- Lightweight synthetic boots / trail runners: 1-3 days. Soft materials, flexible soles, nearly ready out of the box — but still do a shakeout hike first.
- Mid-weight boots: 5-10 days of progressive wear. The most common type hikers buy, and the timeline the 2-week plan below is built around.
- Full-grain leather backpacking boots: 2-3 weeks, sometimes 3-4 for stiff models — roughly 20-40 hours of actual wear time. Leather conditioning during this phase helps noticeably.
- Waterproof (membrane) boots: add 3-5 days to the equivalent non-waterproof timeline. The membrane itself doesn’t soften, and the stiffer construction that protects it needs more miles.
Break-in time by boot material
| Boot type / upper material | Typical break-in | Actual wear hours | Why |
|---|---|---|---|
| Trail runners, lightweight synthetics | 1-3 days | ~5-10 | Soft uppers, flexible midsoles; one shakeout hike to confirm fit |
| Mid-weight nubuck / split leather | 5-10 days | ~10-20 | The most common boot type; matches the 2-week plan below |
| Full-grain leather backpacking boots | 2-3 weeks (3-4 for very stiff models) | ~20-40 | Leather softens at the creases; condition flex points weekly |
| Waterproof membrane (e.g. Gore-Tex) | Add 3-5 days vs. non-waterproof equivalent | — | The membrane never softens; stiffer protective construction needs more miles |
Compiled from multiple outfitter and boot-fitter break-in guides.
Before day one: the honest fit test
Break-in improves a good fit; it cannot rescue a bad one. Every break-in guide repeats this, and it’s worth repeating here: if you get significant rubbing or sharp pain during the first round of indoor wear, the boots are the wrong size or the wrong shape for your feet. Exchange them. A boot that’s wrong out of the box rarely becomes right.
Do this fit audit in your living room before the plan starts:
- Shop timing rule. Try and buy boots in the afternoon, when feet are naturally at their largest — and always try them with your actual hiking socks, not the thin socks from the store.
- The thumb test. Standing with weight on your foot, you should have about a thumb’s width between your longest toe and the boot’s front. Then stand on a stair or incline facing down — your toes must not slam the front.
- Heel lockdown. Lace up and walk; the heel should lift minimally (a few millimeters is normal, a half-inch is not). The heel-lock (runner’s loop) lacing technique — threading the lace through the top eyelet to form a loop, then through the loop — fixes most minor heel slip.
- Width check. Feet swell with heat and hours. If the toe box feels snug while standing still, it will feel crushing by mile eight. A boot with a wider toe box is a different boot, not a bigger version of the same one — try both.
Keep the receipt and test indoors only until you’re sure. Most return policies reject boots with trail dirt on them.
The 2-week break-in plan
This is written for mid-weight boots, the most common purchase. Lighter boots: compress it to about a week. Stiff leather: stretch each phase by several days and add conditioner.
Days 1-2: around the house (1-2 hours per session)
Lace up with your hiking socks and wear the boots on hard floors around home. Walk up and down stairs to check toe room on the way down and heel seat on the way up. Notice every pressure point — write them down if you have to. This is still the final fit check; any real pain here means an exchange, not a break-in.
Days 3-4: short neighborhood walks (30-45 minutes)
Take them outside on flat sidewalks and paved paths. Pay attention after about 20 minutes, when your feet warm up and expand — that’s when hot spots show up. A hot spot is an early warning, not a badge of honor: it tells you where a blister will form, so you know which spot to watch, tape, or lace differently.
Days 5-7: longer walks with elevation (1-2 hours)
Add distance and hills. Walk up and down slopes to test toe room on descents and heel lockdown on climbs. If you’ll hike with a pack, wear a lightly loaded daypack now — the extra weight changes how your feet sit in the boots. This is the phase that builds the most break-in mileage.
Days 8-10: varied terrain (2-4 hours)
Dirt paths, gravel, grass — anything uneven. Your ankle flexes differently off-pavement, and the boot learns those angles here. For leather boots, this is a good week to apply leather conditioner to the creases and flex points and let it absorb overnight before wearing again.
Days 11-14: the dress rehearsal (a real moderate hike, 3-5 miles)
Do a genuine half-day hike in the full system: your hiking socks, your pack weight, the terrain you actually hike. Bring blister tape or moleskin and a spare pair of socks anyway — a sock change at lunch resets moisture and friction completely. If this hike is comfortable, the boots are ready for the trip they’re meant for.
How to tell your boots are fully broken in
Don’t trust new boots on a long trip until they pass all four checks:
- No hot spots on the dress-rehearsal hike. Warm, swollen feet at mile 4-5 with zero rubbing is the gold standard.
- The boot flexes where your foot bends — at the ball of the foot, not at the ankle collar.
- Heel stays put. Minimal heel lift on steep climbs with your loaded pack.
- Toes clear on descents. A thumb’s width of space is maintained even after hours of downhill.
If any check fails, keep wearing the boots on shorter outings before committing to a long trip — and if pain is sharp or localized from day one, re-read the fit test above before wearing them another mile.
What actually speeds it up (and what ruins boots)
- Wear them daily. 2-3 hours a day beats one long weekend hike a week. Frequency matters more than session length for softening materials.
- Condition leather. A quality leather conditioner on the flex points and creases, weekly during break-in, with overnight absorption. Start with one coat on the whole boot before the first wear.
- Gentle heat on stubborn spots. A hair dryer on medium, held at distance, warming a tight area while you flex your foot — a widely recommended trick for a single pinching spot, not the whole boot.
- Upgrade the insole. The stock insole in most boots is thin packing foam. A quality aftermarket insole is the cheapest high-impact fix in footwear — it changes fit, support, and pressure distribution at once.
- Don’t soak them. Never submerge boots to “speed” break-in. Heat and water damage waterproof membranes, strip leather finishes, and rot stitching. The membrane in waterproof boots doesn’t soften anyway.
- Don’t power through pain. Blisters are injuries, not rites of passage. Stop, tape the hot spot, change socks, adjust lacing — or call the hike. Boots that hurt you on day one after honest fitting are the wrong boots.
Pair the boots with the rest of the system
Boots don’t work alone. Our blister prevention guide covers the sock system, taping, and hot-spot response in detail — the single best companion read to this plan. If friction is your recurring problem regardless of footwear, the sock guide for wide feet and blisters sorts out which sock construction actually prevents hot spots. And once the boots are dialed, the 10 essentials checklist makes sure the rest of the kit is trip-ready too.
The bottom line
Break-in isn’t a ritual, it’s a mechanical process: gradual, escalating wear that softens the boot to your foot. A week for most mid-weight boots, days for lightweights, two to three weeks for stiff leather — with the daily house-to-neighborhood-to-hills-to-trail progression above doing the heavy lifting. Fit comes first, conditioner helps leather, insoles fix most remaining fit sins, and pain is data: listen to it early and you’ll never learn what a third-mile blister feels like.
Related guides
- Altra Lone Peak vs Topo Ultraventure — wide-foot trail runners compared
- The 4 Best Hiking Sandals for River Crossings (2026) — grip and drainage tested
- The 4 Best Hiking Shoes for Plantar Fasciitis (2026) — support and cushioning picks
- The 4 Best Hiking Shoes for Wide Feet: Men’s Picks (2026) — roomy fits that don’t pinch
Frequently asked questions
How long does it take to break in hiking boots?
It depends on the boot. Lightweight synthetic boots and trail runners typically need 1-3 days of regular wear. Mid-weight boots need about 5-10 days of gradual use. Stiff full-grain leather backpacking boots need 2-3 weeks (some outfitter guides say 3-4) of progressive wear totaling 20-40 hours. The break-in lets stiff materials soften, footbeds mold to your arches, and soles develop flex points where your feet naturally bend.
Can I break in hiking boots faster?
Yes, within limits. Wear them for longer sessions more days in a row, take them on progressively longer walks sooner, and for leather boots use a quality leather conditioner on the flex points (weekly during break-in). Gentle heat from a hair dryer on a tight spot while flexing your foot can help a stubborn area. But compression of the timeline increases blister risk — the ‘faster’ path still needs days of wear, not hours. Carry blister supplies if you must shortcut.
Do trail runners and synthetic boots need breaking in?
Much less than leather boots. Lightweight trail runners often feel trail-ready in 1-3 days — a few walks and one short hike is usually enough to reveal any fit problems. Synthetic mid-cut boots need a bit more, roughly a week of gradual wear. The day-by-day plan below still applies, just compress it: a couple of house days, then short walks, then a real hike.
Should I soak my boots or get them wet to break them in faster?
Don’t. Soaking boots damages waterproof membranes like Gore-Tex and strips protective finishes from leather; it also rots stitching over time. Waterproof boots are built with stiffer construction to protect the membrane, which is why they take a few days longer to break in — the membrane itself doesn’t soften. Break in your boots on dry walks; they’ll get wet enough on real trails soon enough.
How do I know when my hiking boots are fully broken in?
Run four checks: no hot spots on a full half-day hike, the boot flexes where your foot bends (at the ball of the foot), the heel stays locked on climbs, and your toes don’t hit the front on descents. If any check fails, keep wearing them on shorter outings before trusting them on a long trip.
My boots still hurt after two weeks of breaking in. What now?
First, check the fit honestly: a boot that’s significantly painful from day one is often the wrong size or wrong last for your foot shape, and no break-in fixes that — exchange or return while you can. If the fit is close but a specific spot pinches, a cobbler can stretch that area, a boot fitter can heat-mold or pad it, and an aftermarket insole is the cheapest high-impact fix there is. Upgrade the insole before blaming the boot.